
Discovering that your microwave isn’t heating can be frustrating, especially when you rely on it for quick meals or reheating leftovers. Before diving into complex repairs, begin with a few straightforward checks. First, ensure the microwave is securely plugged in and that the outlet provides power by plugging in another device. If the outlet is dead, the problem may lie with your home’s electrical supply rather than the microwave itself.
Next, observe whether the microwave’s internal light turns on, the control panel responds, and the turntable rotates when you start a cycle. These signs indicate that the appliance is receiving power and that many basic functions are operational. Additionally, listen for any unusual noises, such as loud buzzing or popping, which can point to internal component failures.
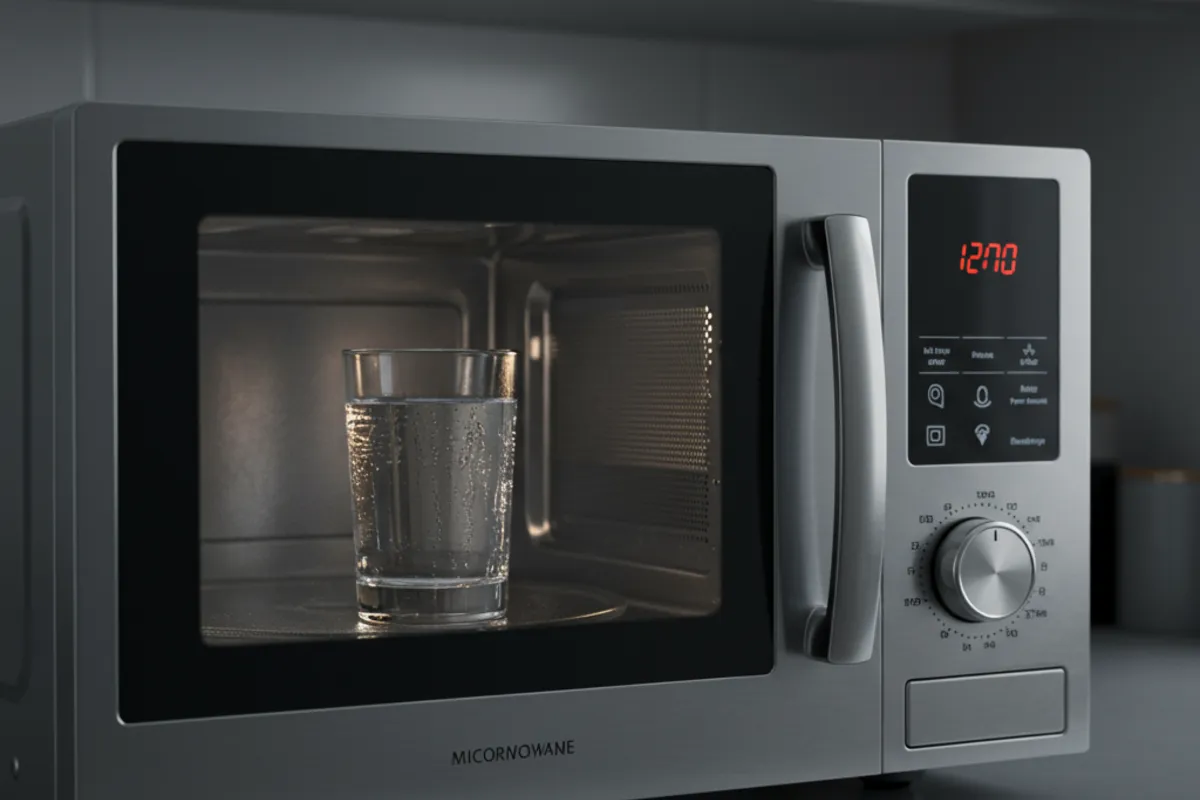
Try heating a simple item, like a cup of water, for one to two minutes. If the microwave completes its cycle but the water remains cold, it’s a strong indicator that the issue lies with the heating system rather than the control panel or power supply. Take note of any error codes displayed, as these can help pinpoint the root cause.
If all basic checks pass but the microwave still fails to heat, you may need to proceed with further diagnostics. However, always weigh your confidence and comfort with appliance repair before attempting to open the unit. If you’re uncertain, it’s best to consult a certified technician rather than risk injury or further damage.
Tackling microwave repairs at home can pose serious risks if proper safety measures aren’t followed. While the appliance may appear harmless, it houses high-voltage components capable of delivering a dangerous or even fatal electric shock. The most critical safety step is to unplug the microwave from the wall before beginning any inspection or disassembly.
One of the most hazardous parts inside a microwave is the high-voltage capacitor. Even after the appliance is unplugged, this component can retain a powerful charge, much like a battery. Accidentally touching it without discharging it first can result in severe injury. Discharging the capacitor requires specific tools and procedures—usually a well-insulated screwdriver and knowledge of where to safely bridge the terminals.
Always remove the metal cover by unscrewing all fasteners, and keep all removed parts organized. Before you proceed to touch or test any internal components, confirm that the capacitor has been safely discharged. If you’re inexperienced or unsure about any step in the process, prioritize your safety. Contacting a professional repair technician is always the safest course of action when dealing with high-voltage appliances. Remember, the cost of professional help is minimal compared to the risks involved with improper handling.
Once you've ensured safety and unplugged your microwave, you can begin diagnosing the internal components that most commonly cause heating failures. The magnetron, often described as the microwave's “engine,” is the part that creates the microwaves needed to heat your food. It resembles a sturdy metal box and is typically secured inside the unit with screws and connected by two wire terminals. After disconnecting these wires, use a multimeter to check for output voltage when the microwave is supposed to be running. If there’s power to the magnetron but no operational noise or heating, it’s likely the magnetron is faulty and needs replacing. If no power reaches the magnetron, further investigation is required.
Fuses play another critical role in microwave safety and function. The temperature fuse, usually located near or on the magnetron, protects against overheating by cutting off power if temperatures climb too high. Use your multimeter to test its resistance and compare the result to manufacturer specifications—any deviation could mean the fuse is blown. Microwaves may also contain several thermal fuses that protect different parts such as the fan, lights, or tray motor. Using the wiring diagram found on the inside wall or in the manual, identify the fuses related to the heating circuit and check for continuity. Replace any fuse that fails this test.
Finally, don’t overlook the door lock switches. These small but vital components ensure the microwave won’t operate when the door is open, preventing accidental exposure to microwaves. Over time, they can wear out or break, especially if the door is frequently slammed. Test each switch for continuity both when the door is open and closed. Any faulty switch should be replaced to restore safe operation.
While many microwave problems are traced to replaceable components like fuses and switches, sometimes the root cause is found in the main control board or other complex circuitry. The main board acts as the microwave’s brain, coordinating everything from timing to power delivery. If this board fails, symptoms can include unresponsive controls, erratic operation, or a complete lack of heating even when all other parts check out.
Diagnosing main board issues is challenging for most homeowners. Wiring diagrams are essential for tracking how power flows through the appliance, and specialized tools may be needed to test or replace the board. Even experienced DIYers may find interpreting circuit diagrams and using electronic testing devices daunting.
If you’ve already confirmed that the magnetron, fuses, and door switches are functional yet your microwave still isn’t working, the main board could be to blame. Attempting to repair or replace these components without proper training can risk further damage and compromise appliance safety. At this stage, professional intervention is the smartest choice. Certified technicians have the expertise and equipment to accurately diagnose and repair main board faults, ensuring your microwave is restored to safe and reliable operation.
Troubleshooting a microwave that isn’t heating involves both patience and caution. Always begin with the basics: confirm that the appliance is plugged in, the circuit is live, and the door switches function properly. If these simple checks don’t resolve the issue, and you feel comfortable proceeding, carefully move on to inspecting internal components like the magnetron and various fuses—using a multimeter to test for power, resistance, and continuity.
Remember, safety cannot be overstated. High-voltage components inside a microwave can retain lethal charges even after unplugging, so discharging the capacitor is a critical step before any repairs. If you’re ever in doubt about your ability to safely perform these checks, don’t hesitate to reach out to a professional repair technician. Not only does this protect you from harm, but it also ensures the job is done right, restoring your microwave’s performance and extending its lifespan.
By following these guidelines, homeowners in Maple Ridge and beyond can make informed decisions about microwave repairs, balancing the desire for a quick fix with the importance of safety and reliability.

Master Appliance Service offers certified appliance repair solutions in Maple Ridge and surrounding cities with licensed technicians delivering prompt, reliable service. Enjoy transparent pricing, secure payments, and a 3-month warranty on parts and labor. Trust us for dependable and convenient home appliance repairs.
